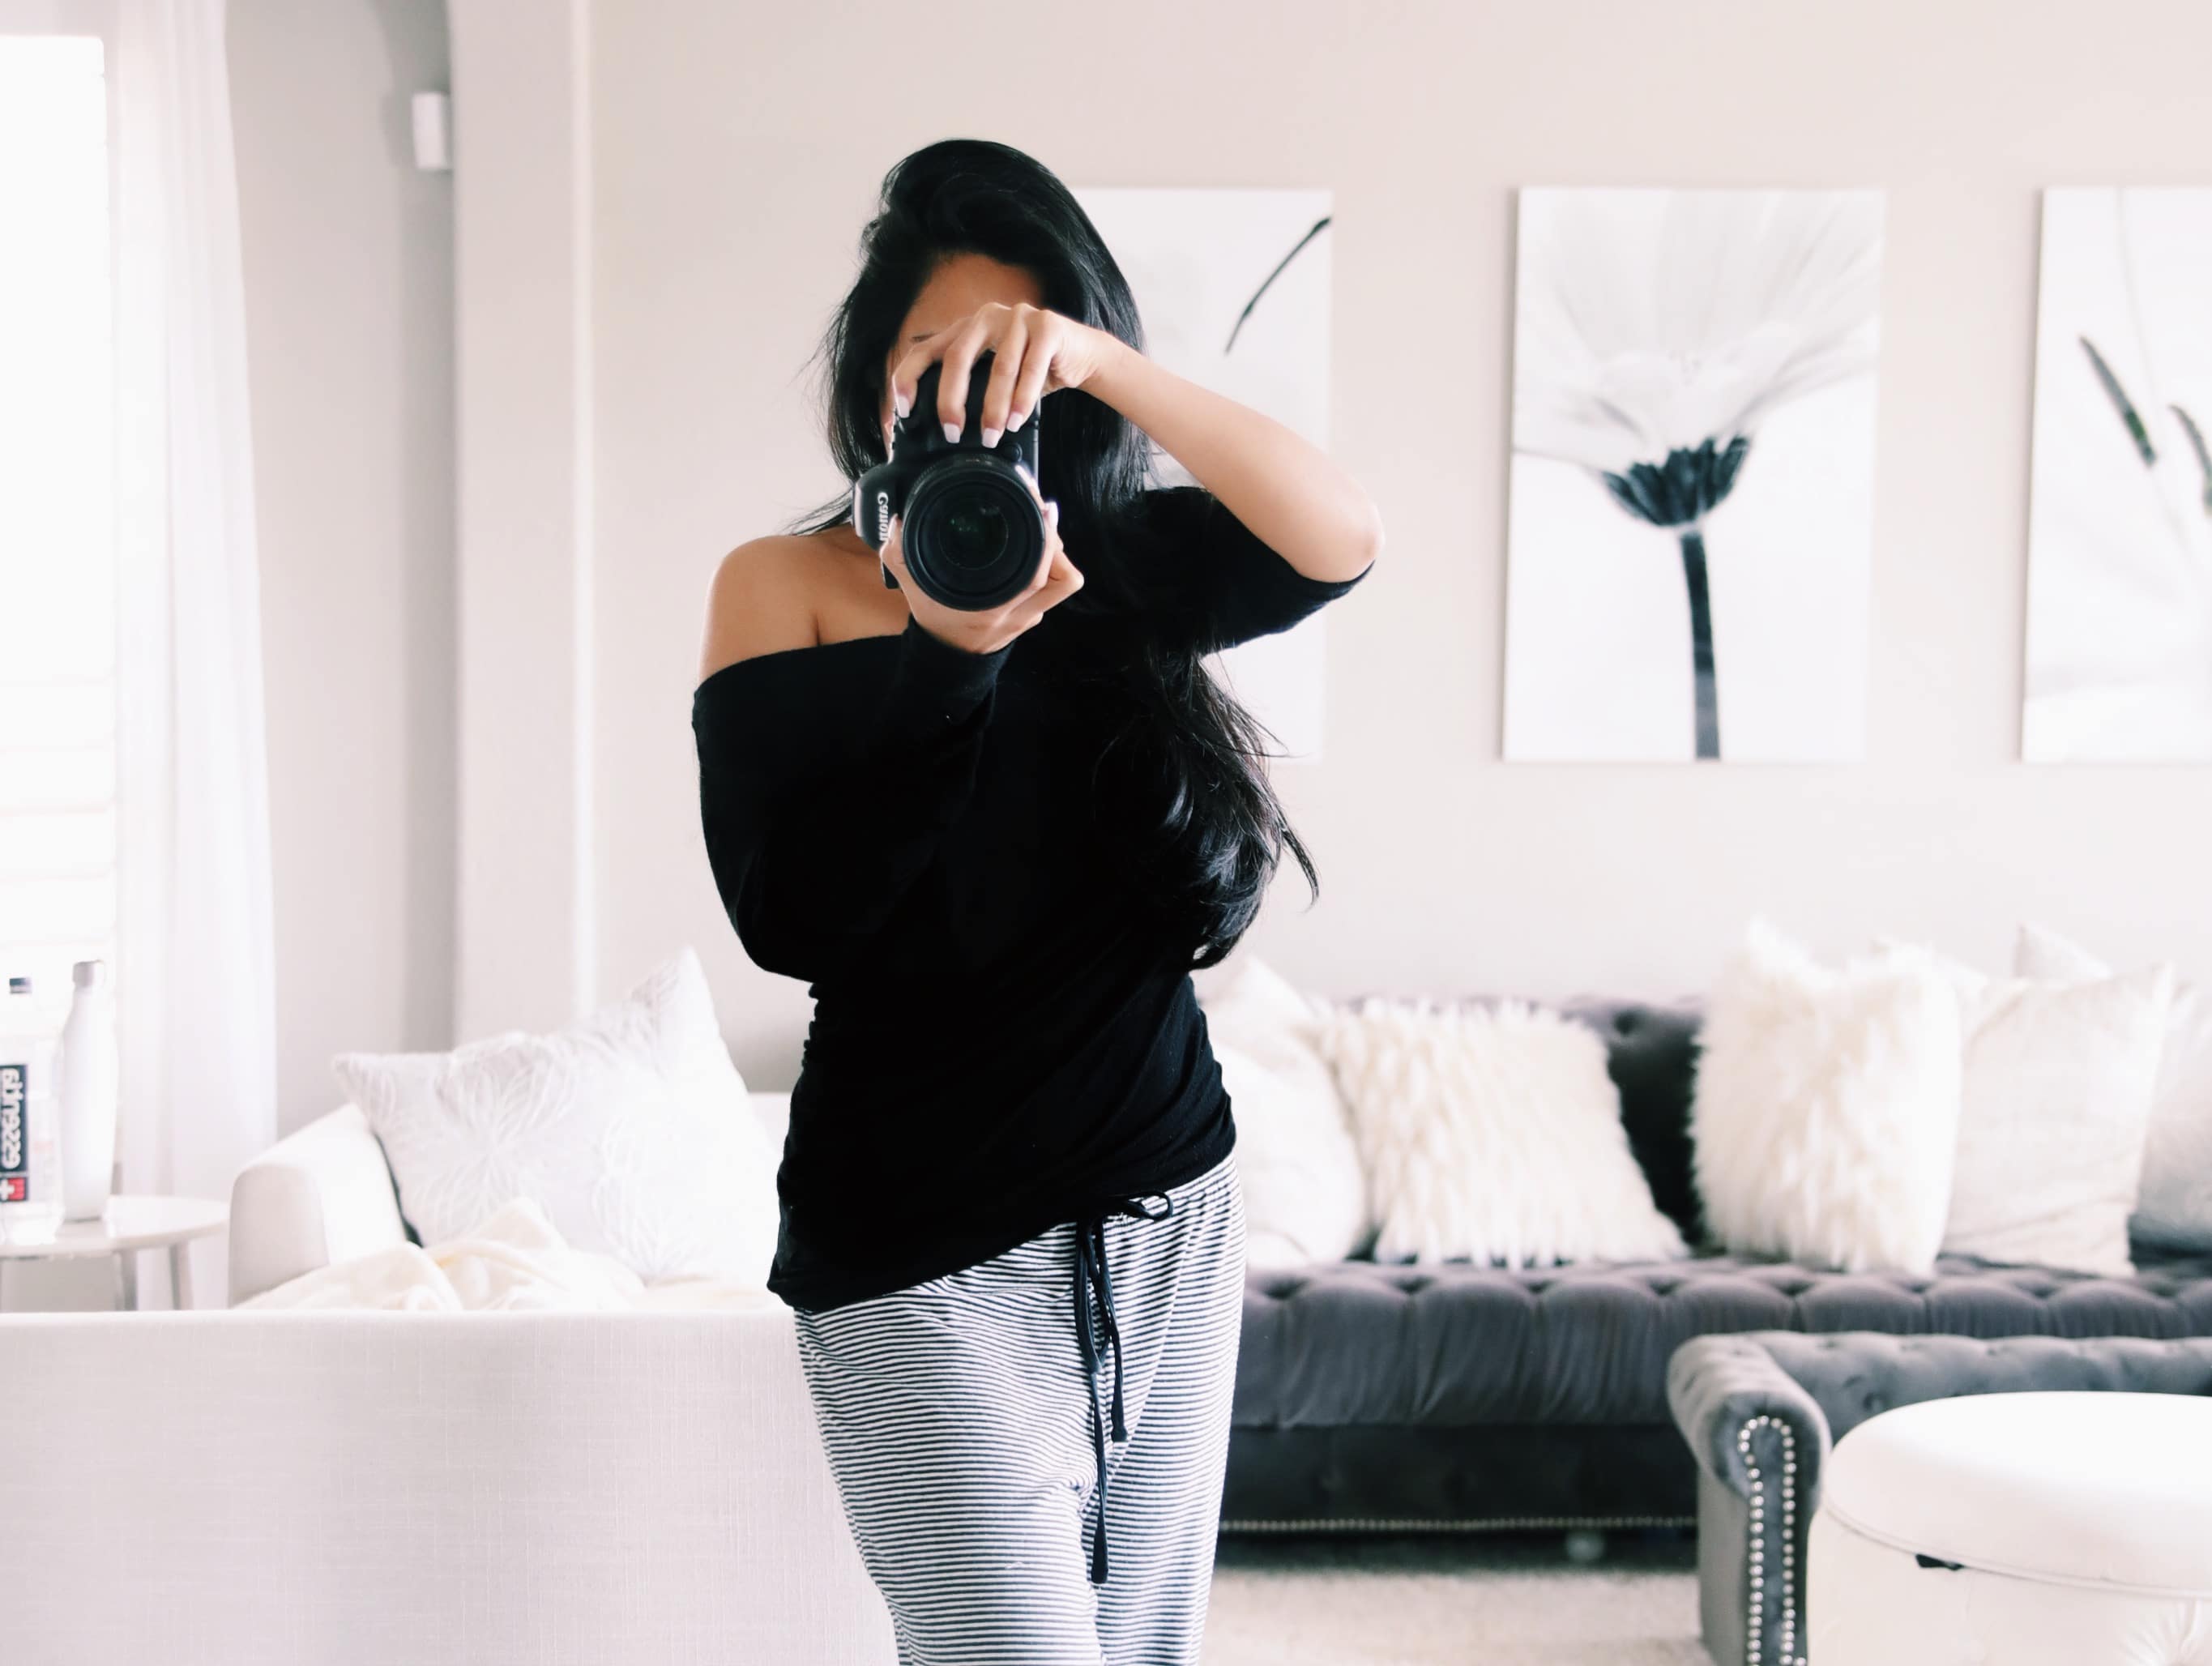
Today I am sharing every single camera, lens, light and more that I use to film my YouTube videos. Please keep in mind that all of these weren’t acquired all at once. It’s been a slow (5 year) process of re-investing any money that I made back into my channel.
Before jumping into the list of equipment I want to offer a few pieces of advice. If you’re looking into upgrading your camera to a DLSR, I recommend purchasing the body alone and then purchasing the lens you really want separately. The very first time I bought a DSLR, I bought one with a factory lens and it never got used, actually…I’m not even sure where that lens is anymore! Also, try to purchase your expensive equipment from reputable places that offer insurance and/or good return policies. If you’re investing more than $1,000 on something, Get the insurance! Well, I mean, you don’t have to, I ‘m just giving you my sincere advice. I’ve dropped a camera with no insurance and instead of paying that extra couple hundred dollars up front, I ended up with a much larger bill in the end. Last thing is make sure your SD card says “class 10” if you plan on using it for video. I don’t know the technicality behind it but I was having trouble with my camera shutting off in the past and I stumbled upon this as a solution and I’ve never had issues since, I like this brand.
Alright, enough chit chat, lets get into the good stuff!
Cameras:
Canon G7X: This is a point and shoot camera and I only use it for Vlog style videos. It can shoot in HD, it has a flip screen and the color payoff is beautiful. I don’t use it for anything else but it would make a great camera for sit down videos as well.
Canon EOS 70D – This is the first big girl purchase I made for my channel and I bought it because I read that it is a favorite amongst photographers. It also has a flip screen so it’s ideal for video too. This is a great one for beginners!
Canon EOS 5D Mark IV: About a year ago I decided it was time to take the next step and invest in a camera with better video capability. This camera is super powerful and I’d be lying if I said I’ve mastered using it. One down side is this doesn’t have a flip screen so you’ll have to hook it up to a monitor or do what I do which is only use the camera when you are behind the lens or if you plan on siting in the same spot the entire time. It does have an auto face tracker and it works really well buuuuuttt If I’m against a deadline, I don’t risk it.
Lenses:
Sigma 35mm 1.4: – This is a prime lens, which means it doesn’t allow you to zoom in or out of a subject. But what’s wonderful about this lens is that you can get those beautiful cinematic shots where the subject is super clear and crisp and the background is super blurry. I love using this lens for really close up shots. It is also my go to lens for super low light settings.
Sigma 24-70mm 2.8: This lens gives me so many more creative options especially when it comes to taking photos. I am still able to keep that beautiful blurry background but with a much wider angle thanks to its zooming abilities. You can’t get as close up to subjects as you can with the first lens but it does make your items look super crisp.
Microphone:
Zoom H4N: – This type of mic had a slight learning curve for me since I was used to being able to plug a mic directly into my camera and the audio would automatically sync with the video. With this, you record the audio separately and then merge it with your footage during the editing process. I watched a couple of youtube tutorials on setting it up and it’s pretty simple to use once you get the hang of it. I received immediate positive feedback on my audio when I started using this mic. I can’t recommend it enough.
Lighting:
Diva Ring Light – If you do a lot of sit down videos where your’e talking to the camera, this is the light for you. It eliminates weird shadows and does a good job at hiding skin imperfections. I also love that it gives true to life color. A lot of times, this is the only light I use.
Soft Box Lighting – I used 2 of these lights as filler light so it gives my videos depth. I film most of my videos in doors so on days that I don’t have a lot of natural daylight, these lights become crucial.
Tripods:
Karafuto Mini Tripod – This tripod is great for Vlogging or when I need to do really close up shots on a flat surface. It can hold the weight of my heavy lenses without tipping over.
Zombie 75 Tripod – I recently purchase this tripod and I regret not getting it sooner! It’s super light weight, its great for overhead shots, and can also collapse for floor shots. It folds up really small so it makes it easy to store and transport.
I hope you find this post helpful! If I missed something feel free to ask me in the comments section and until next time!

I remember when I first started my channel (re-invented my channel) I was watching your videos and realize the little details. Angles, depth, lightening, and you inspired me. Thank you for being a part of my small journey.
Hi Katherine,
This comment made me so happy! I wish you nothing but growth and success!
I’ve been watching your YouTube videos for years but this is the first time I followed the link to your blog and I wish I’d followed a long time ago. I love how detailed you are with it. I’m a beginning YouTuber but I’ve given up on and off because I find the equipment part so hard. I’ve tried watching videos and reading articles but a lot of people just say a bunch of words I don’t understand and it’s like they’re speaking another language. Thank you so much for this!
P.S. an editing video or blog post would also be greatly appreciated.
Hi Liz, which lens do you use to film close up makeup turtorials?
I use the prime lens 🙂