
A few weeks ago I asked you guys on Instagram if a pantry organization post would interest you. I was secretly hoping you would say no so I could hold off on the Pantry Monster for as long as possible ;). Well… here we are…
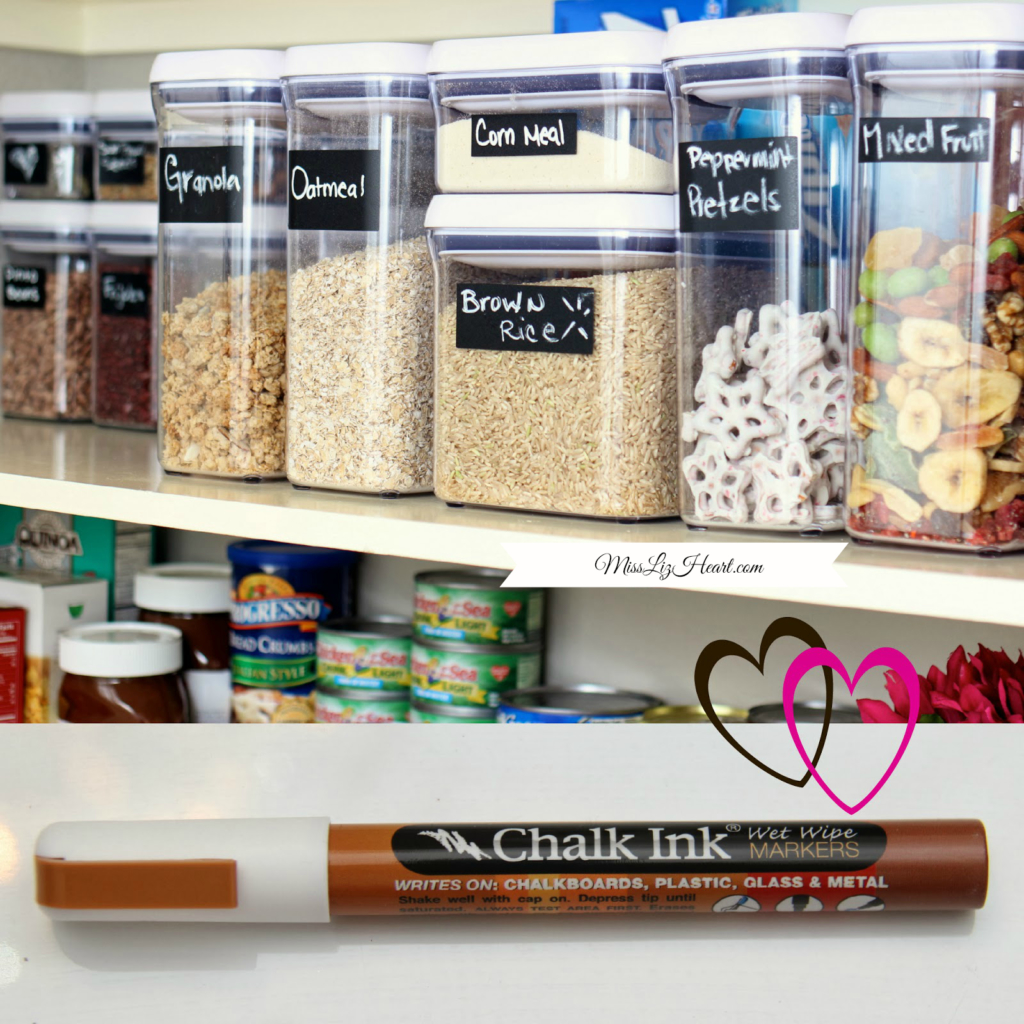
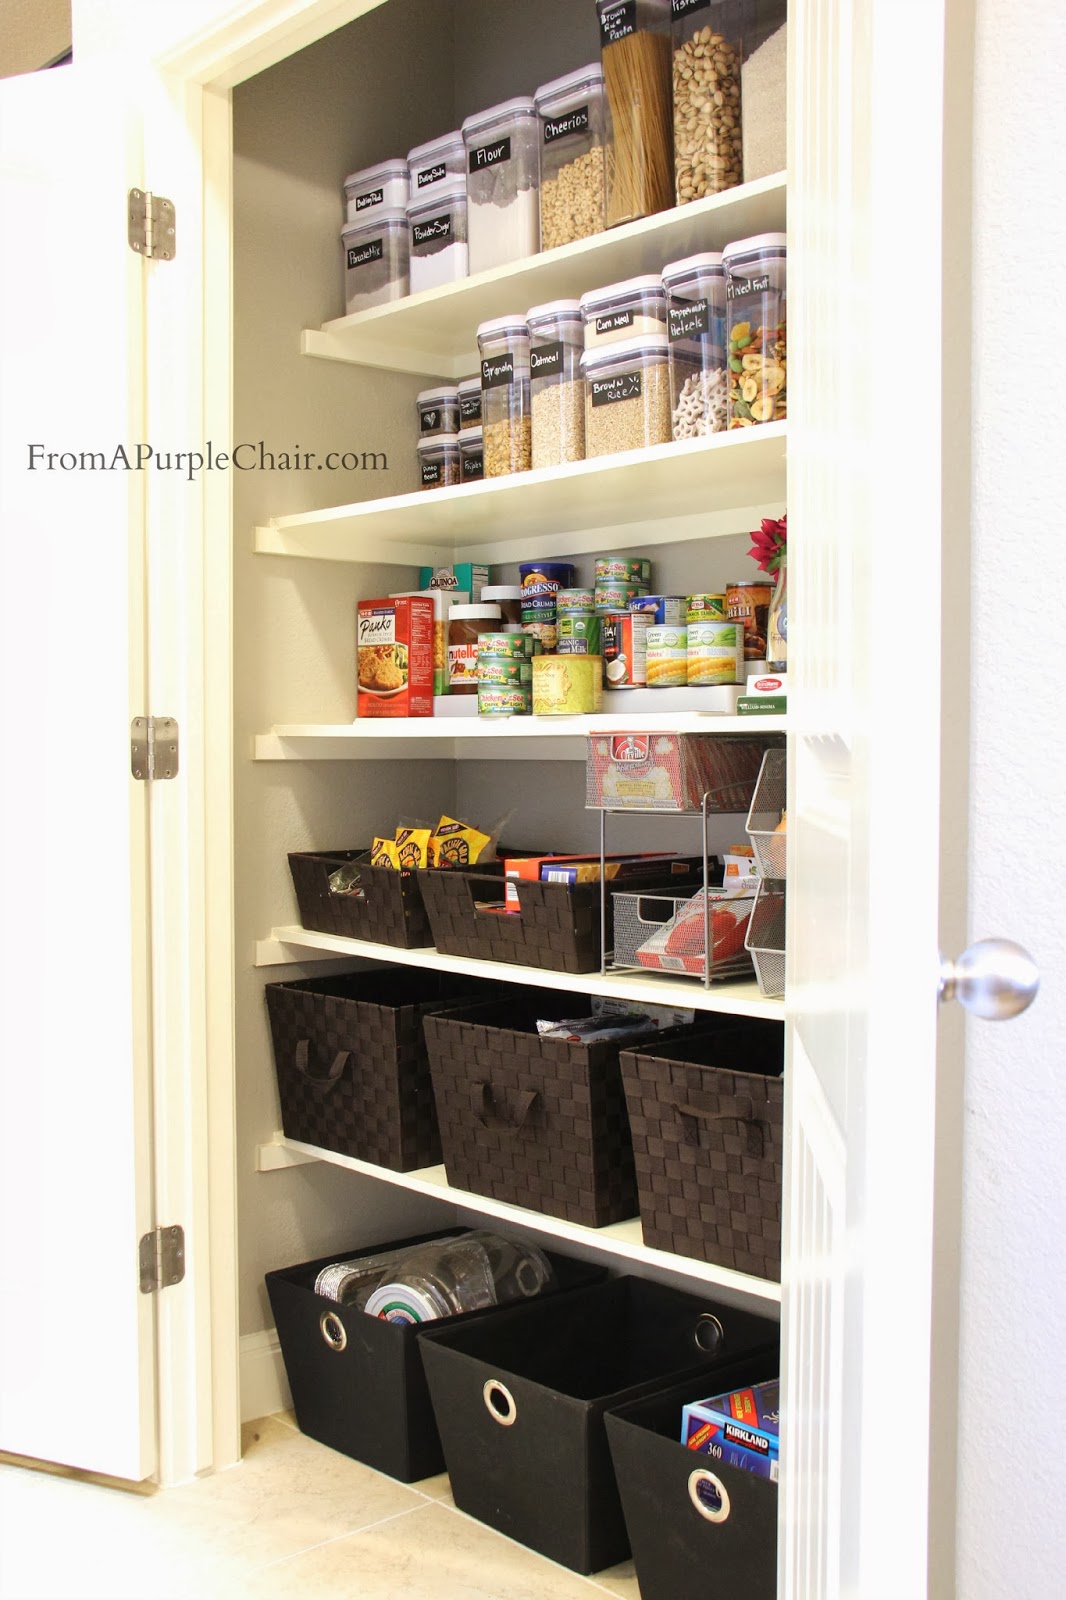
I’ll start off by sharing with you how I labeled all my containers. I thought about leaving them plain but that’s no fun! So I decided on these Chalkboard labels from Amazon. The ones I bought come pre cut so it was a breeze to apply. I love that you can erase them with a damp cloth and rename them as needed. The Chalk Ink Pen is also from Amazon (link below).
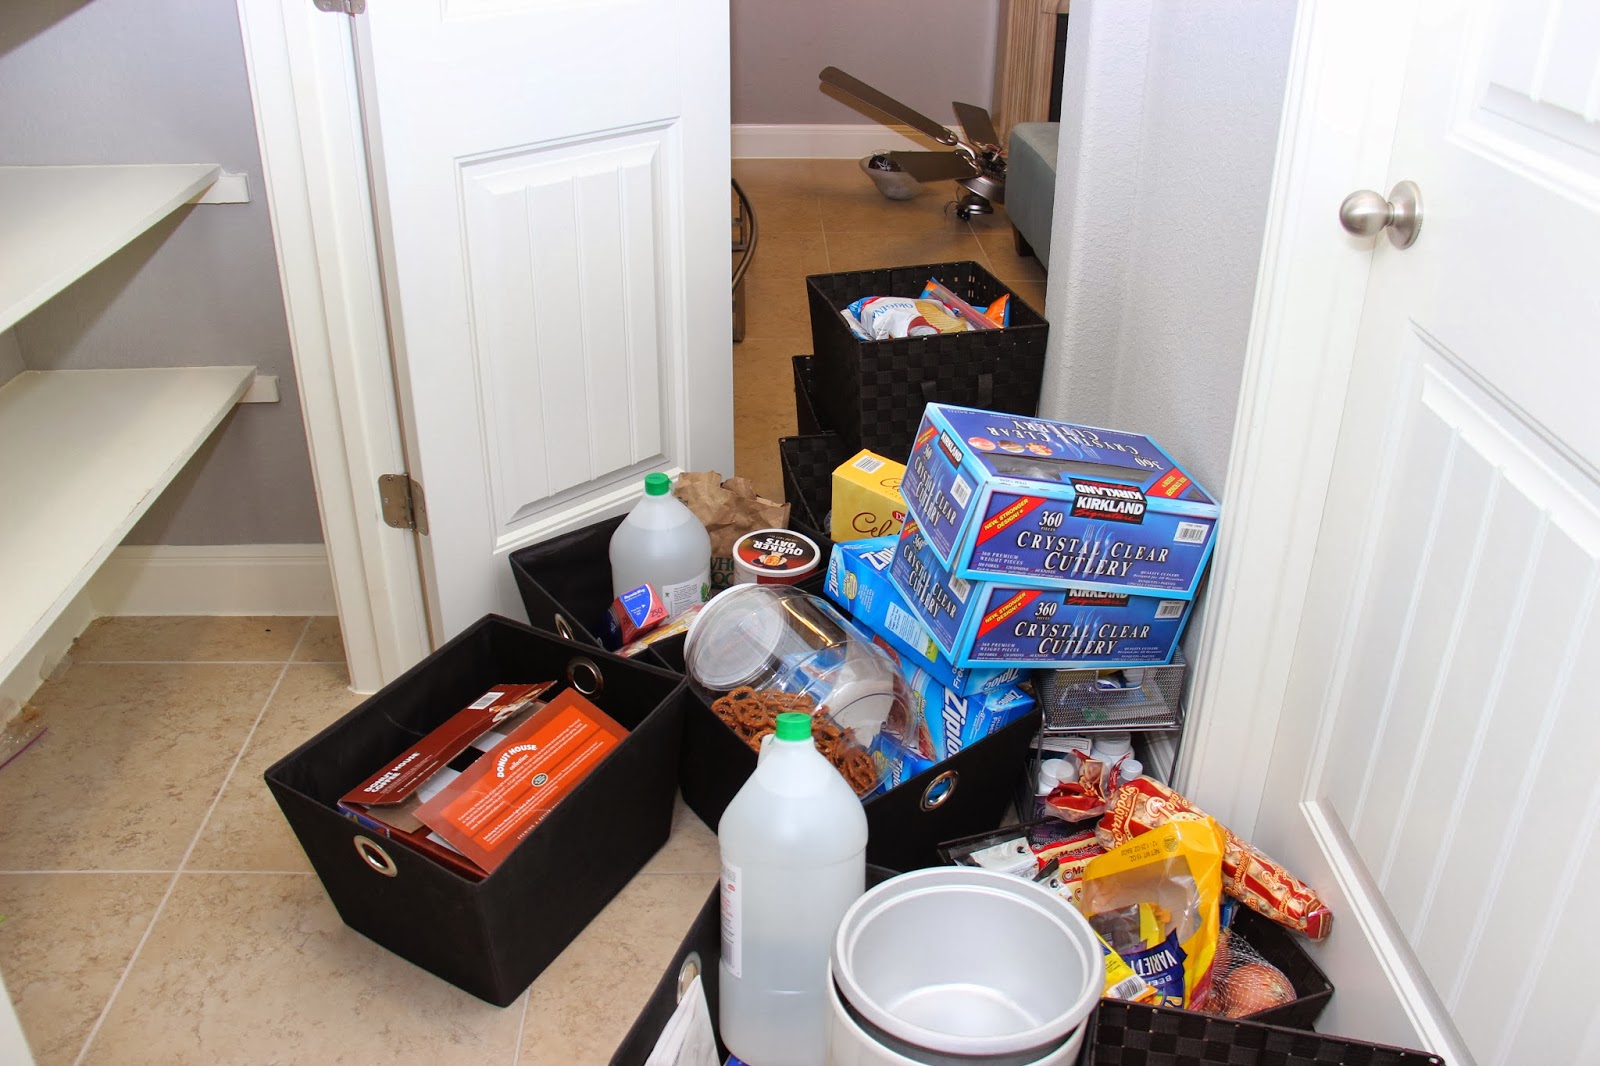
I realized it was time to clear things out when I could no longer find Nala’s dog food because it was buried under the plastic silverware. So the organizing began.
I took every single thing out of the pantry, wiped down each shelf and swept the floor. I wanted a clean canvas.
Before I put everything back, I filled all the bins and containers. I already had everything I needed to organize since they were all part of our wedding registry from a year ago.
I listed all the items with links below but you can also find most of these organization items at discount stores like Homegoods, Ross, and Marshall’s for a lot less 🙂
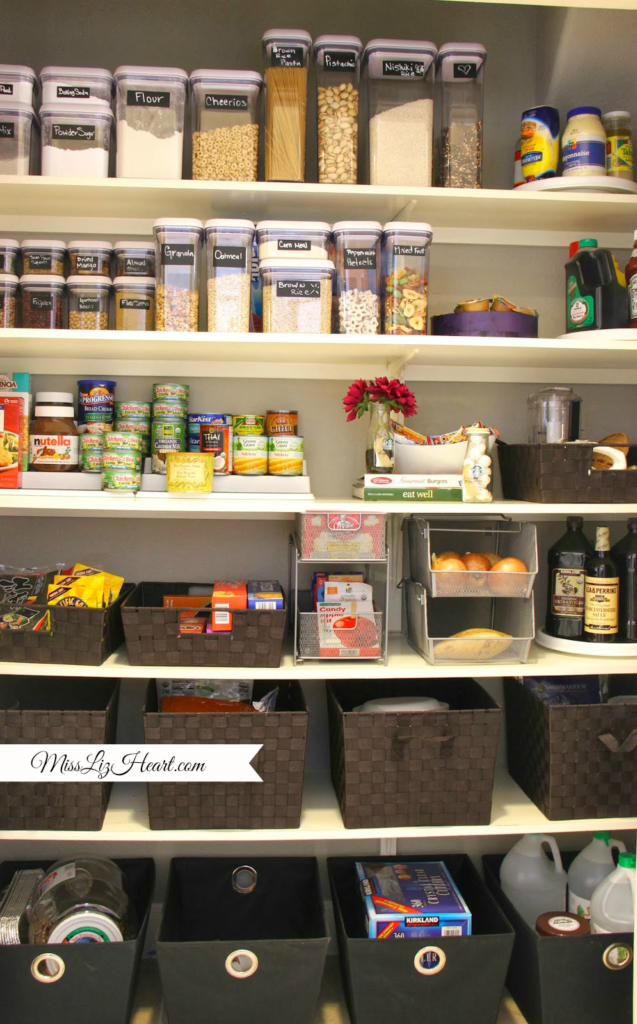
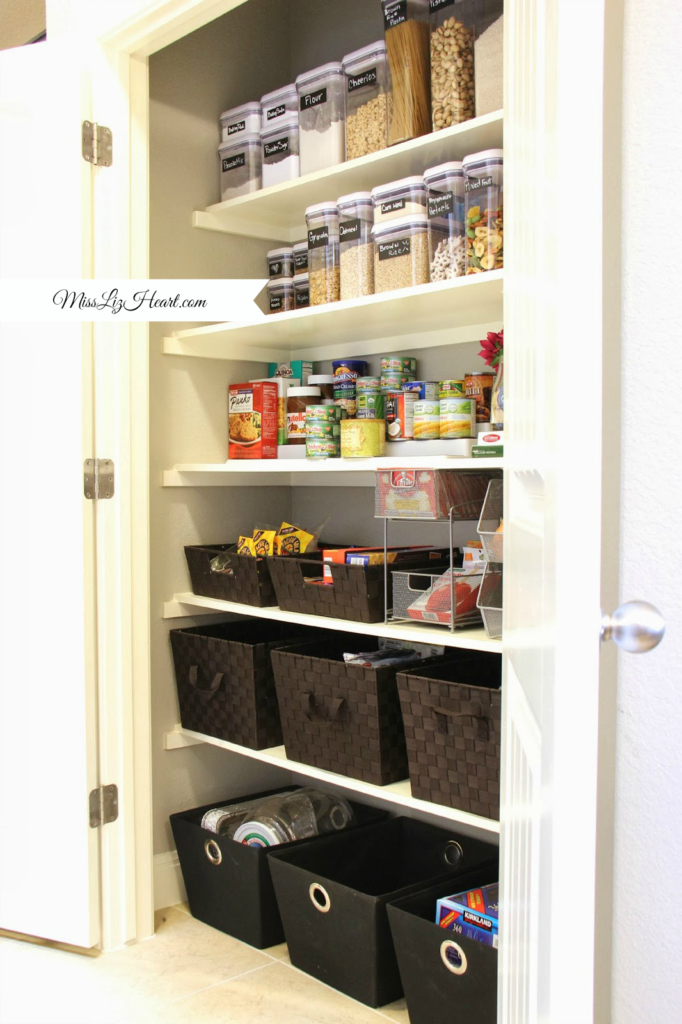
I love the Oxo airtight containers so much, they are a bit pricey but so worth the investment. Everything stays fresh for a lot longer and I love the uniformity.
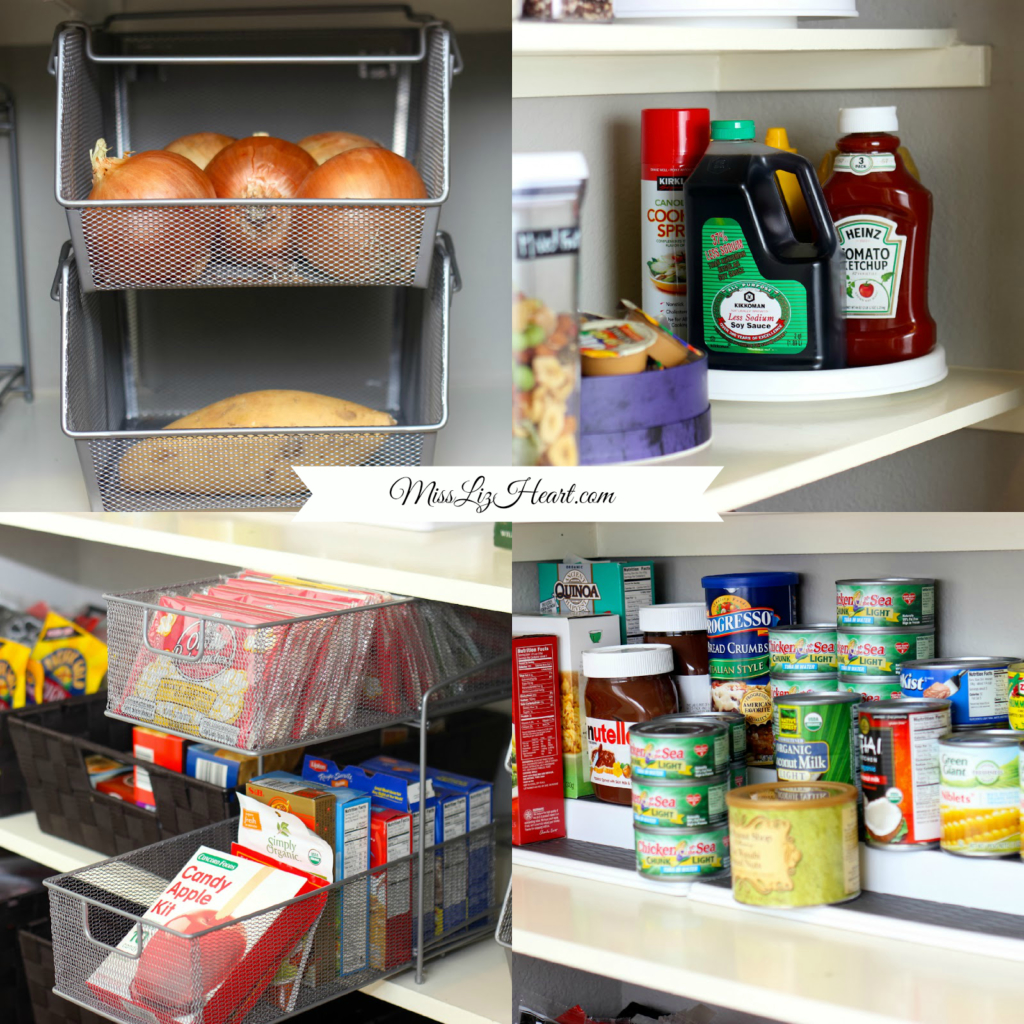
I use the turn tables on the right side of the pantry to keep our back-ups tucked away but still accessible. We like to get our condiments from Costco but since I keep smaller refillable containers in the cabinet near the stove I don’t need them in the more reachable areas.
I use the brown bins to keep items that are either prepackaged (i.e. prepackaged snacks) or larger bagged items like potato chips or anything that doesn’t need to go in an airtight container and is not in a box or can shape.
The black bins hold more back up supplies like paper plates, napkins, etc.
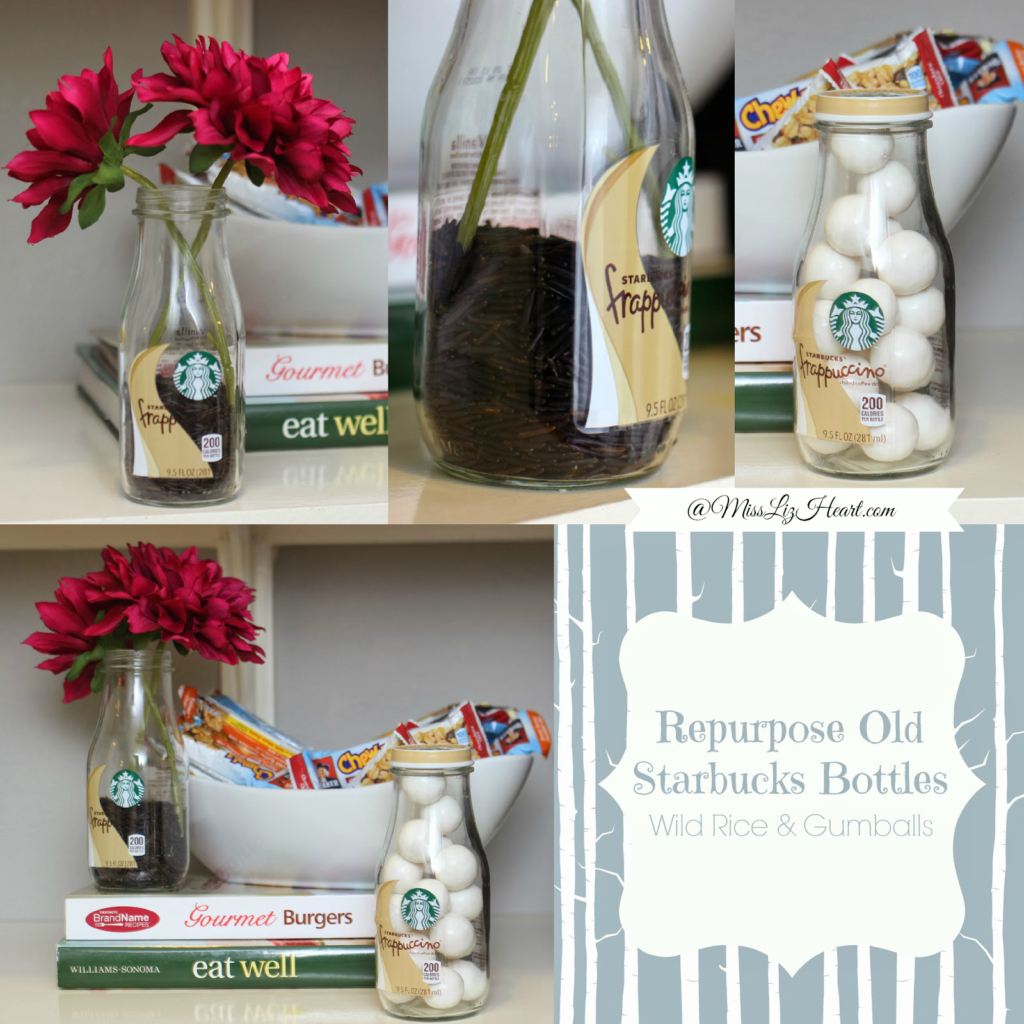
Who says your pantry can’t be styled? I went ahead and filled a bowl with snacks and added a couple of cute Starbucks bottles. I filled one with Wild Rice and the other with white bubble gum. I think it looks super cute and it’s still very functional.

No blog post would be complete without a special appearance from our curious little fur ball.
BTW it was so difficult to get a good shot of the entire pantry because the door to our laundry room is directly across for the pantry itself so this was the best I could do :).
*Also, you don’t need to go out and buy these same exact items, the key is for your things to be easily accessible and contained and in order for that to happen there has to be some sort of uniformity, wether its the color of the containers, size or shape.
Hope this post inspires you to tackle your own Pantry Monster! I would love to see your before and afters. If you post a photo on Instagram use #misslizheart so I can see it!
xo Liz ♥
Items Used:
*Click on item to be directed to purchasing site
(adsbygoogle = window.adsbygoogle || []).push({});
omg I love how everything is organized! I love it so much! I will have to try a couple of these ideas!
Great & smart ideas!
Amazing!!! I need this in my life lol!
LOVE this organization will do SOON
Thanks for the idea! <3
Could you do a kitchen tour live your pantry by the way